I’m excited to announce that I was asked to be a part of a big project in Ecuador called the “Feel Again” project. Essentially, they brought in a group of artists – photographers, designers, writers, etc. – to try to capture their vision of Ecuador. The groups were being sent to various different parts of Ecuador. I’m even more stoked about it because my team was sent to the Galapagos Islands!
I’ve been once before, and can tell you that it’s amazing. I had just 4 days on this trip, and though it wasn’t enough, it was still beyond special.
As such, I thought this would be a great time to give you some recommendations for what camera gear to pack for a trip to the Galapagos Islands. I get questions like this all the time: I’m going to The Galapagos, what camera gear should I bring? So, why don’t I write a blog post about it, right? And, before I get into it, I should mention that this is the photography equipment I used on my trip, and there are a lot of variations of camera kits that will work as well.
Camera Bodies for the Galapagos
I have two camera bodies, and neither are really ideal for wildlife photography. I used my Canon 6D primarily, but it has issues with auto focus on wildlife as it only has one cross-type auto focus point. That said, much of the wildlife in the Galapagos is pretty tame and doesn’t move much. That makes it possible to focus and re-frame without losing the shot. I also used my Canon 60D as a backup. For the most part, I kept a long lens on the 6D well had a super-wide angle lens on the 60D in case I wanted to shoot something wide in a hurry.
Ideally, I’d like to have a camera like the Canon 5DS or 7D mark ii which is more suited for wildlife photography. However, we have to work with the photography gear we have.
I think it’s smart to have 2 camera bodies in The Galapagos Islands so you’re not having to change lenses so often.

Lenses for the Galapagos
Canon was nice enough to lend me the Canon 100-400mm f/4.5-5.6 ii IS lens to use on the Galapagos Islands. I heard pretty rave reviews about this lens for outdoor shooting, and was glad to have 400mm to work with. Having the zoom range of the 100-400mm is also very nice. Last time I was in the Galapagos Islands I shot my 70-200mm f/2.8 lens and I really didn’t feel like I needed much more lens. However, having the range of 100-400 allowed me to get a wider range of shots on the same subject. It was really nice to have. I will have a review on it soon.
I also packed my 70-200mm f/2.8 in case we had some low-light situations where I’d those extra 2-stops of light – but I only used it once or twice.
The landscapes of the Galapagos are actually very underrated as well. Thus, I had both my 16-35mm f/4 lens and 10-20mm Sigma lens for the 60D, both of which I used a little bit here and there.
I have a 50mm lens, but I didn’t use it at all.
If we’re talking about ideal gear. I think having a wide angle like the 16-35mm, and a zoom lens like the 100-400mm, 200-400mm, or 70-200mm will do the trick. If you’re shooting Nikon, you might also want to consider the new 200-500mm f/5.6 lens that was just released.
Tripod vs. Monopod
About 3 months ago I decided it was time to ditch my monopod. My 3 Legged Thing tripod also has a detachable leg that can be used as a monopod. However, I think here in the Galapagos I’d have liked to have one of each. I’d have like to have my wide angle shooting landscapes on the tripod, well I can photograph wildlife on the monopod. For me, that would be the ideal situation.
Yes, it seems like a bit of a pain to be packing around both, and in the end I didn’t run into any issues. I shot 90% of my photos with the monopod alone. I only switched onto my tripod for shots around sunset and sunrise.
I should also mention, that I think you can survive without a tripod. I often get low and use a rock, or my feet to balance my camera lens for wildlife photos. Sometimes, tripods can be really restrictive.
That said, if you do want to take some longer exposure images of the landscapes, you’ll definitely need a tripod for that.
Filters?
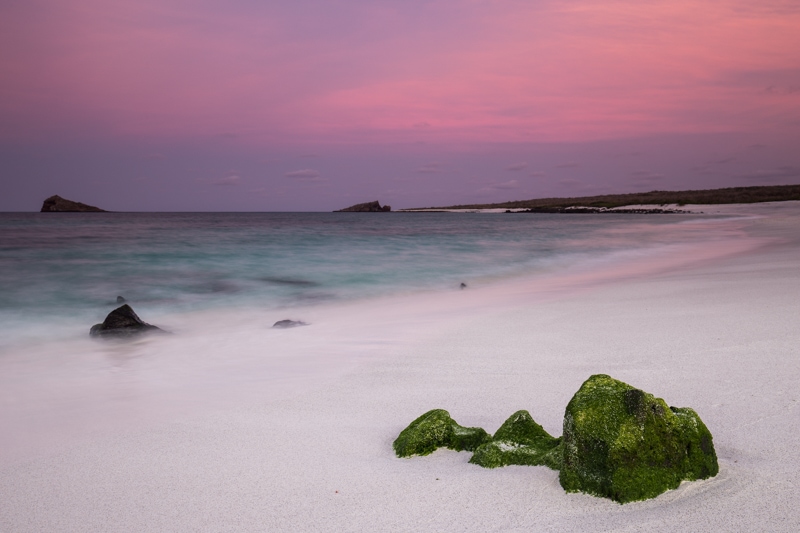
It might be easy to think of the Galapagos and not pack any filters at all. Of course, the Galapagos are known for their endemic wildlife and not their landscapes. However, as I mentioned once already in this article, the landscapes are insane on the Galapagos Islands, and got the chance to shoot quite a few landscape images. My last trip, we were always on the boat at sunrise and sunset, but on this trip we were given some special access to arrive on the islands right at sunrise and stay until sunset.
I used 3 different filters on the trip. I used a 4-stop soft grad ND filter, a 2-stop hard grad ND filter, and a 6 stop ND filter. Ideally, I would have liked a polarizer as well, but I don’t have one in my kit right now and need to buy a new one when I get back to North America.
Memory Cards: How Many do you Need
The last time I was in the Galapagos Islands I shot over 4000 photos in 10 days. And, yes, I was a bit trigger happy, but I think I could have also shot more than I did. This time, even though I knew what to expect, I shot 2000 photos in 4 days! Thus, be prepared for a lot of photos. I’d say to be prepared to take about 500 photos a day. I’d recommend that you pack in about 40GB worth of memory per day you’re there – depending on your camera file size. Also, I think beyond size, it’s important to get fast memory cards. When you’re photographing wildlife you often need to shoot in bursts. If your memory card is too slow, you’ll hit your buffer and your camera will stop shooting. You could miss that key moment in the shot sequence.
Beyond the actual memory cards, don’t forget that it’s important to bring something to back up the photos on. I brought along my 1TB external hard drive, and every time I was done shooting and back in the boat, I went straight away to my room and backed up the files onto that hard drive. That way, if something happens to your camera or your memory card, you won’t lose any images.
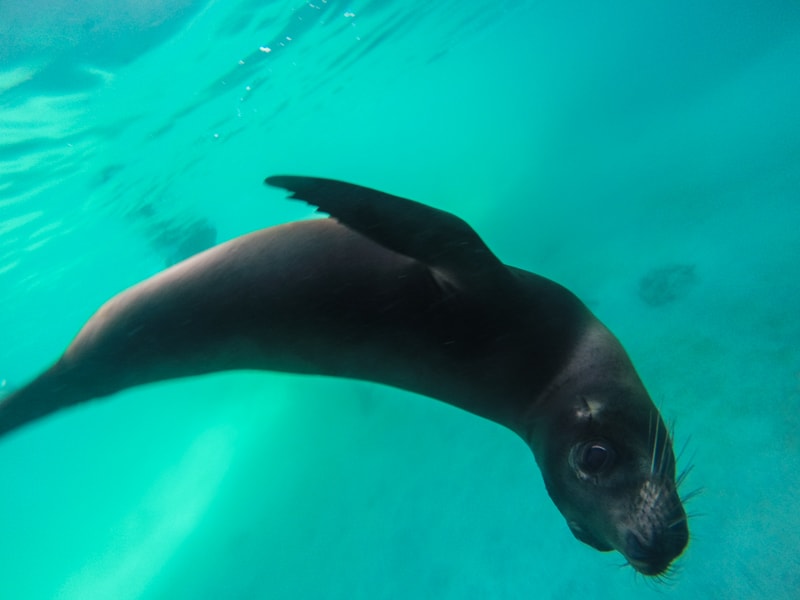
GoPro: For Underwater Photography
The last time I was in the Galapagos Islands I swore I’d get an underwater camera if I ever returned. Well, I still don’t have one. However, I do have my GoPro Hero 3+ and it made due. We went down for a couple snorkels and I actually got some cool video footage and a couple cool photos with the GoPro.
A great option, if you’re coming from North America, is to rent underwater housing for your camera before leaving for the Galapagos Islands. You’ll get great images, there is just so much life under the sea there. It’s one of the most incredible places I’ve ever been in terms of wildlife on land and in the sea.
What’s Next on the Travel Photography Blog?
I’ve got lots left to come from the Galapagos Islands. I’ll have a couple “On Location” videos from the Galapagos, and once I get all the images edited I’ll have a review of the Canon 100-400mm f/4.5-5.6 ii IS lens that I’m testing out on this trip. Following the articles from the Galapagos, I’ll be back in Colombia for a video and then I’m off for 3 weeks in Cuba!!! Stay tuned.