I’ve been lucky enough to do a lot of aerial photography. We, of course, life in the world of drones which means that almost everyone has access to taking pictures from the air. And well I love flying my Mavic Pro 2, there’s nothing like taking pictures from a helicopter. But, it’s a challenge. It’s bumpy, there’s reflections, things move quickly, and stabilization is an issue at times.
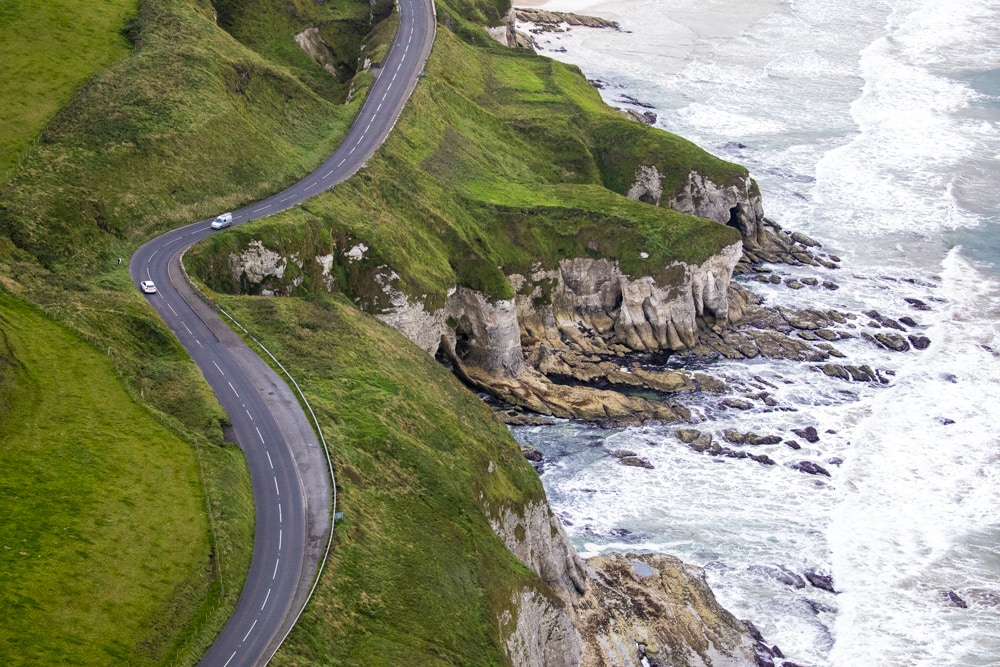
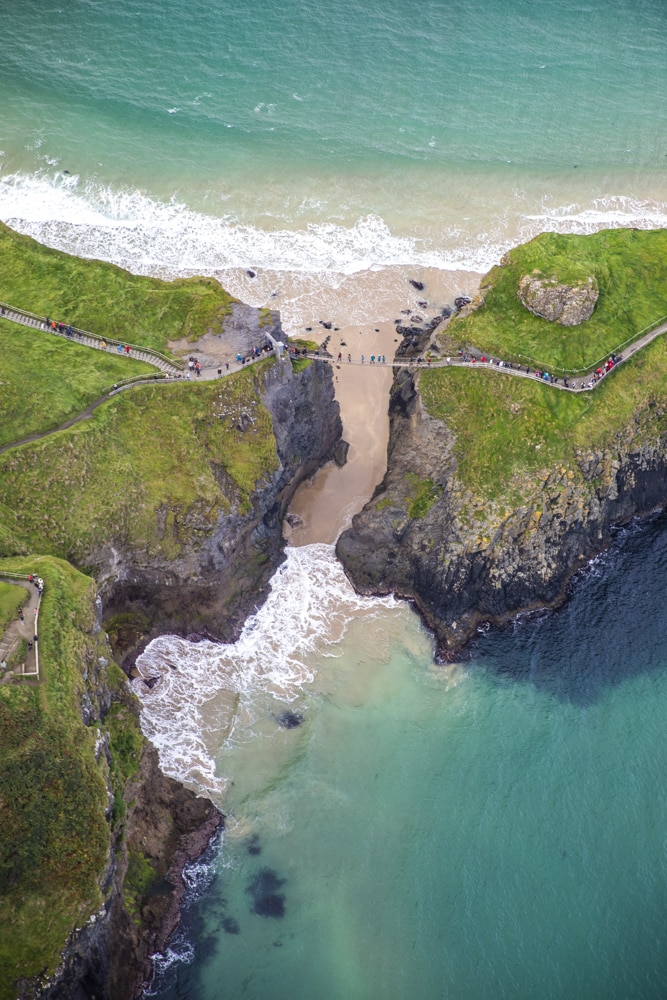
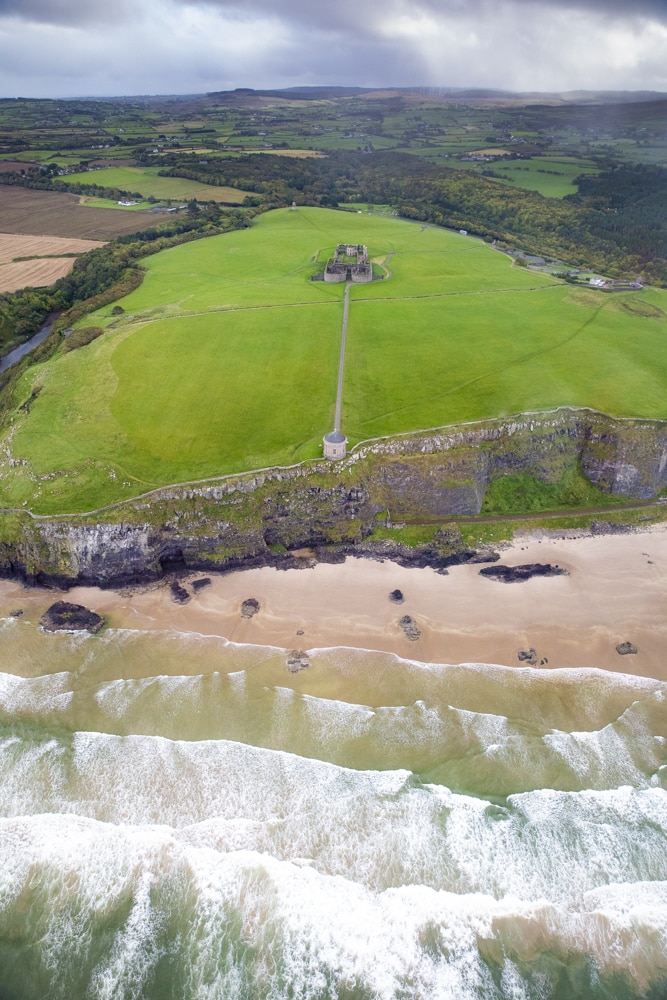
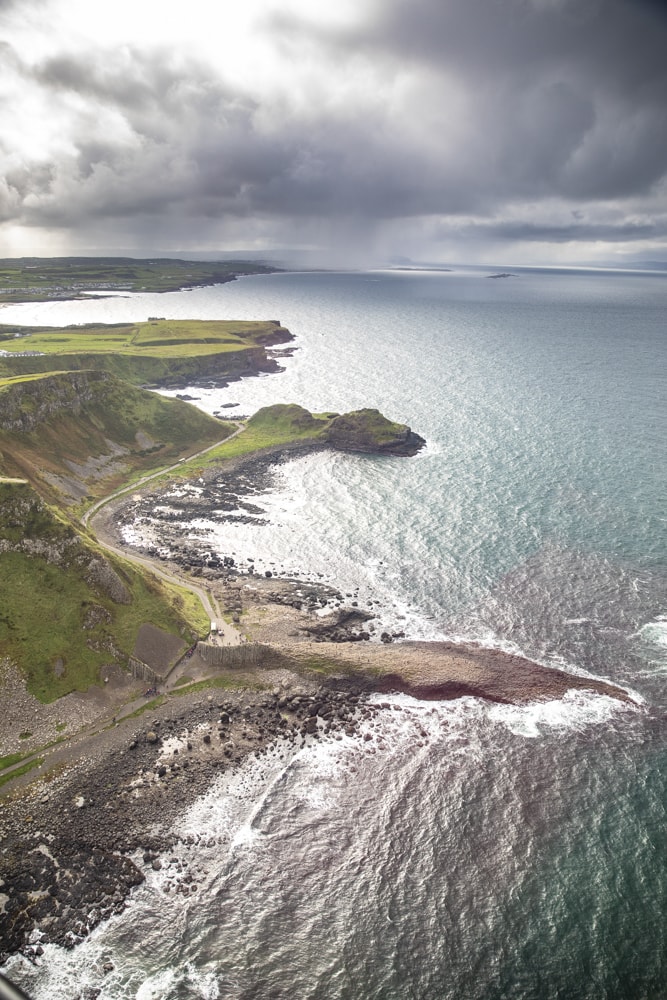
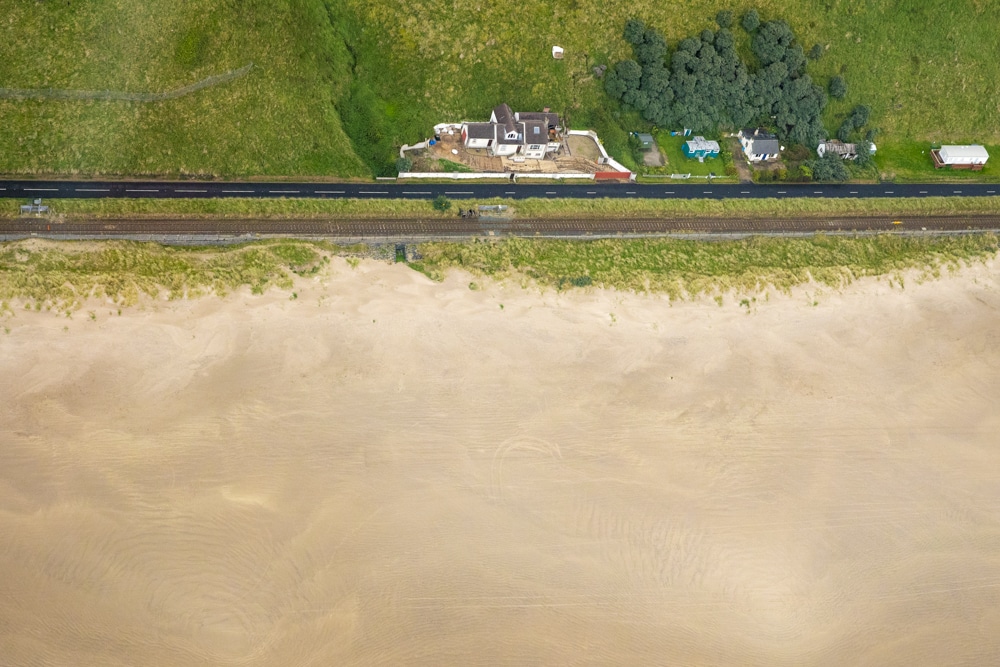
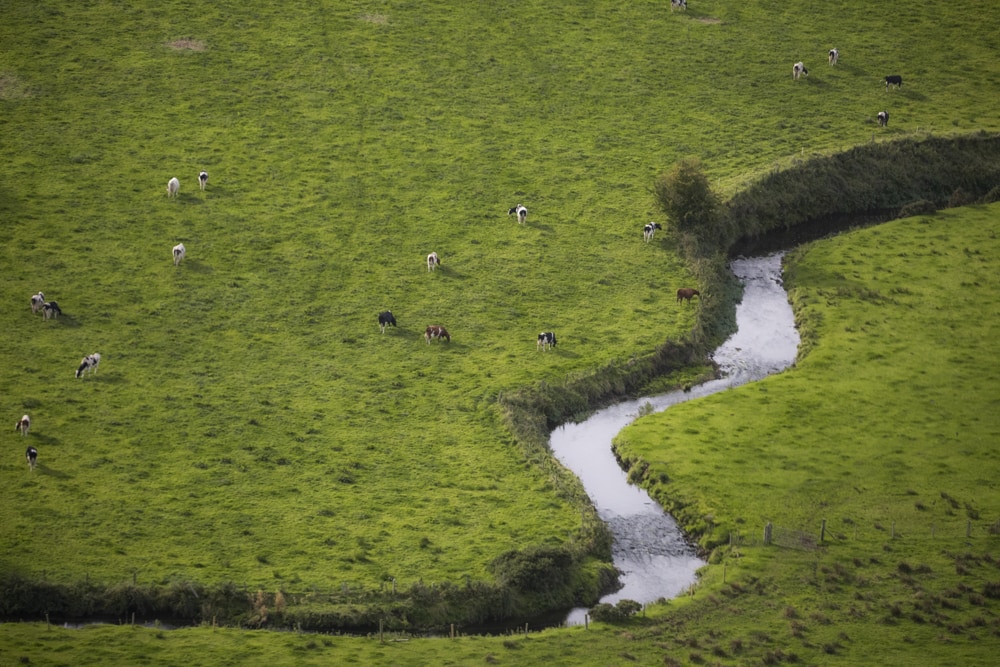
Up in Northern Ireland, I had the chance this week to take a helicopter ride along the Causeway Coast. And, it was brilliant. But, taking the pictures was definitely a challenge. So, in case you’re up doing aerial photography at some point, I thought I’d drop some of my tips for taking pictures from a helicopter.
Have Multiple Camera Bodies
I didn’t have this luxury as I’m still waiting for my Canon EOS R to be delivered, and my 200d was on my gimbal for video footage. But, if you do have this option, it’s going to save you a lot of hassle. It means that you won’t have to change lenses. For example, you could have a wide lens like the 24-105mm on one body and a 100-400mm on another one.
Changing lenses in a helicopter is a challenge because it’s so bumpy. And switching back and forth is a bit of a pain. You don’t want to miss a shot because you have the wrong lens on, so having 2 camera bodies makes life so much easier.

A Polarizer Can Save You While Taking Pictures From a Helicopter
One of the biggest challenges in taking pictures from a helicopter is the reflection. The glare from the windows can be impossible. And, most helicopters don’t allow you to take pictures with the doors open.
A polarizer can help combat the reflection. It can cut it down, in lots of cases, allowing you to taking pictures through the glass with far fewer issues. I can also be a challenge, but in my opinion, totally worth the time struggling with it.
Don’t Wear Colours
This is a mistake I made on the flight in Northern Ireland.
I was wearing a bright red jacket. And I didn’t realize it until I got the images on my laptop, but there’s a red glare in some of my images. The light reflects through the window, bounces off your jacket and then turns into glare on the helicopter window. Wear something non-reflective like grey or black.
Shutter Speed Needs to be Jacked Up
Chimping = looking at the LCD screen on your camera to review your images while you’re shooting.
Chimping = saved me on this shoot!
I don’t usually chimp. But, on this shoot I wasn’t really sure of my exposure because it was overcast. So, I looked down at my screen and found that my images were soft. I had my 100-400mm lens on, and I had the minimum shutter speed set to 1/1000 seconds. Somehow, that wasn’t enough. We were moving so quickly, and there was so much bump happening that things still weren’t sharp. I boosted the shutter speed to 1/2500 seconds and it was better.
Generally when taking pictures handheld we say your shutter speed should be double your focal length. For example, if your focal length is 200mm your shutter speed should be at least 1/400 seconds. I think the rule in taking pictures from a helicopter, is that your shutter speed should be 6 times. For example, at 200mm your shutter speed should be at least 1/1200 seconds.
Search for Rules of Composition
It’s hard to take really well composed images from a helicopter because things move so quickly and you really don’t have time to hover. With a drone, you can just sit there and make adjustments. It’s not that simple from a helicopter unless you’re working in consort with the pilot. Which is rarely the case.
So, one of the best ways to make good images is to be on the constant look out for things that fit within the rules of composition.
Look for elements to put at the rule of thirds. Look for diagonals. Look for leading lines. And look for symmetry. It’ll make your lives a whole lot easier and will simplify your aerial photography.

What Lens Should You Use for Aerial Photography?
If you have to choose just one, choose a standard zoom like the 24-70mm or the 24-105mm. You get the best variety of focal lengths. You can zoom in on details, but also be wide enough to get the big picture. I didn’t bring up my 16-35mm as it was a bit too wide, but if you want that POV perspective in the helicopter, it can be useful.
Of all my favourite photos from this helicopter flight in Northern Ireland, most were shot around 50mm.
That said, I still recommend carrying multiple bodies with 2 different lenses.
Take Your Eyes Away from the Camera
I think it’s really easy to get trapped in your camera’s eye piece. You just constantly want to snap away at everything. But, you need to pull your face away from the camera to search around and look at the world with your eyes. You’ll be amazed at what you miss if you’re face is stuck in your camera.
See The World as Your Camera Does
Kind of counter to the last point. You also need to start trying to see the world through your camera. And what I mean by that is that your camera and your lenses see the world different than your eyes do. Your camera’s sensor reads a different dynamic range, your lenses can be manipulated by aperture, and you have different focal lengths to those your eyes see.
Great photographers don’t see the world through their own eyes. They see the world in how they can shape it with their camera.
Try to see the world as your camera does.
What’s Next?
I’m going to have a round up blog from here in Northern Ireland. And, there are lots of new videos up on my YouTube channel. Then, next week, the content will bounce south as we’ve now headed to Cape Town where we’re based for the next couple months.