It’s been over a year since I’ve done any editorial photography work. I used to survive by chasing magazine and newspaper sales. It wasn’t a rich living, but it was exciting, challenging, and rewarding. Trying to sell photos and articles to magazines means lots of rejection. But, it also means having the opportunity to grow and improve. It means building relationships. It can lead to some incredible opportunities.
So, since I’ve kind of changed up my vlogging style, I thought it would be fun to try to go back to a couple days where I work as if I am trying to sell a travel photography story to a magazine or newspaper.
Things to do Before you Leave Home
A lot of people seem to think that all the work of a travel photographer happens out in the field. I think this belief perpetuates from the blogs, movies, and YouTubers that make it seem like this. But, the reality is that the vast majority of the work happens before or after the trip.
Research the Destination
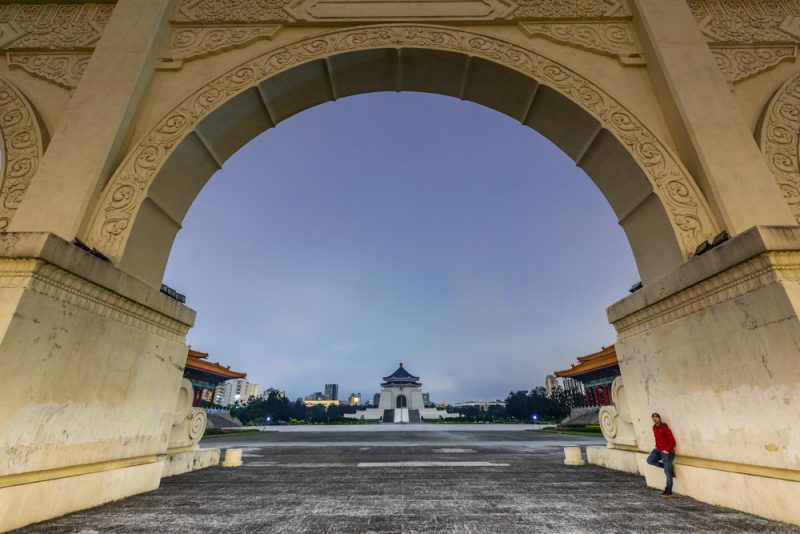
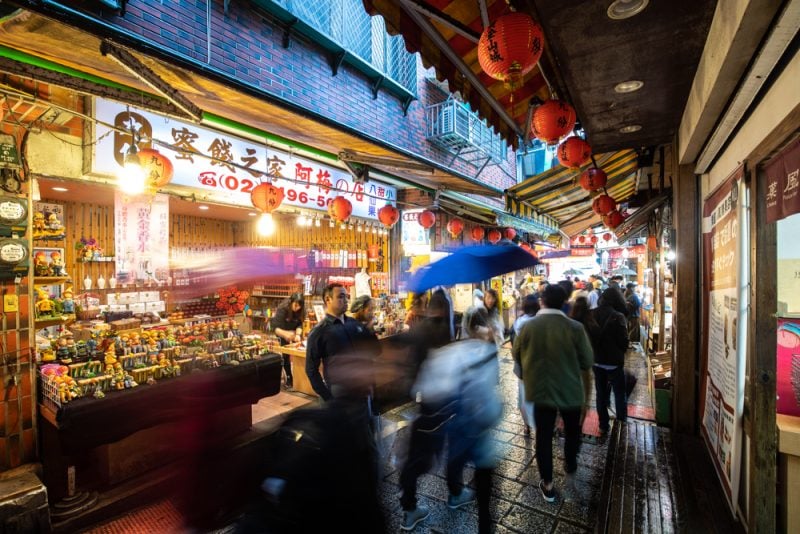
I can’t stress how important it is to have a couple angles for your story in mind before you go out. If you’re into food, then research all the best food-related stops in your destination. Try to find a story before you go. For example, Taipei has a lot of quirky restaurants. Jodie and I went to a “toilet restaurant”. You could make a story on that place alone. Or, you could find 4-5 other quirky restaurants and you have a story.
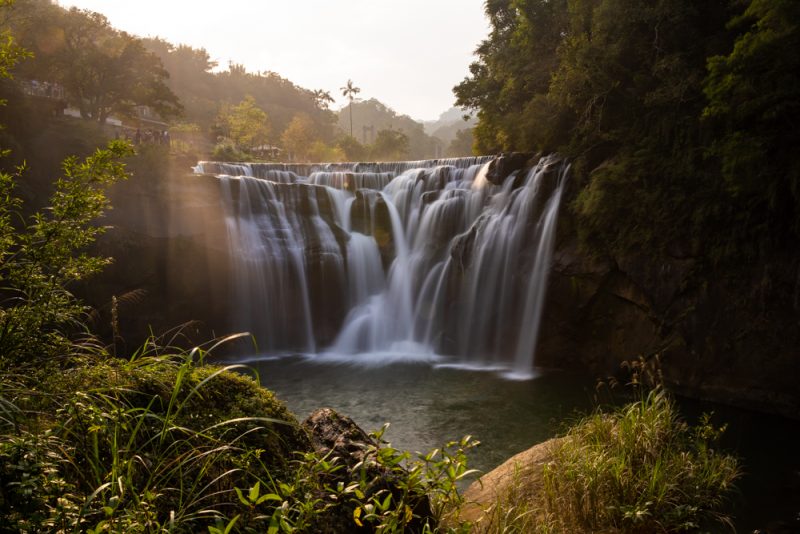
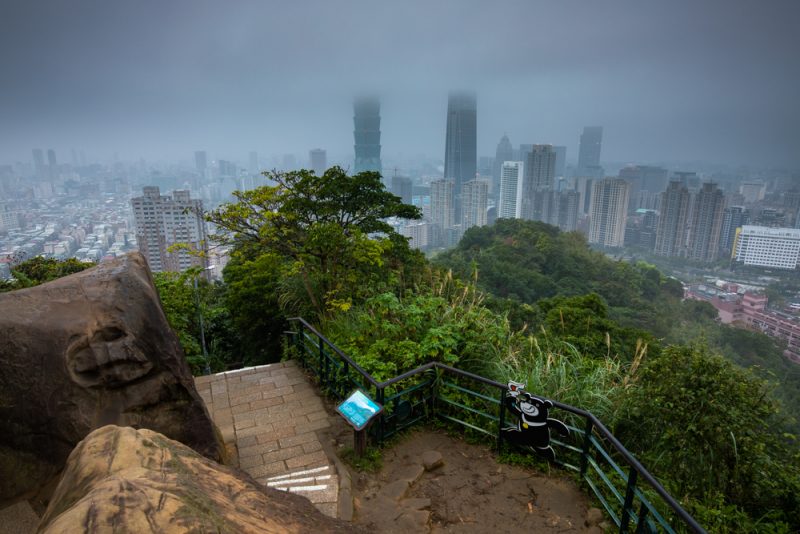
Or, if you’re into nature focus on the hiking opportunities out in the area.
Try to come up with a bit of a game plan to follow before you go. It’ll make it much easier to focus and make sure you get the shots you need before you go.
Research Magazines to Sell to
Once you have a couple story ideas, start researching publications. If you’re running with the “quirky restaurants” angle, for example, find magazines that run a lot of food travel stories. Or, maybe find a food magazine that takes travel stories. Google, obviously, is a huge source. And searching things like “food travel magazines” or “list of food travel magazines” will likely result in 5-10 different options at minimum.
Pitch your Photography
Now that you’ve found the magazines, should you pitch them?
In my opinion, no. Not unless you already have a working relationship with the editor or publication.
If the publication doesn’t know you, then you need to show them your skill set and prove to them that you can deliver what you say you can. Publications get hundreds of pitches each week, so they’ll just buzz past ones that aren’t great or that they aren’t familiar with.
So, shoot the story, then pitch it.
Create a Photography Plan
Every minute you’re out in the field, you’re spending money. So, you really need to be efficient in how you spend your time.
Before I leave to a destination I try to create some sort of shoot plan that I can run with when I finally get there. By doing this I can be ultra-productive. Of course, I also leave a lot of wiggle room to add places I see, and to account for weather.
Things to do in The Destination
Now comes the fun part.
You’ve arrived in your destination, and it’s time to get out and make the images. But, if you thought all you needed to do was take pictures, you’re wrong. You’re on an information gathering mission.
Information Gathering
Long gone are the days where you could just take pictures of a destination and a magazine would buy them to attach to a writer’s piece. You need to put together a story as well; and that means writing. When you’re out in the field, you need to gather information to make your story writing easier.

Layers of Photos
I remember this time I pitched a magazine my story – they sent me an email back saying they loved it and the photos. So, they went ahead with it. I wrote the piece, and turned in 12 image. A week later the editor came back with a message that said “we need a photo of the details or this building, and can we get image 3 in portrait orientation, and I want a photo of the lady you mentioned selling street food”.
It was at that point I realized that I messed up. I was the type of photographer who was ultra-picky. I’d only shoot “epic”. I forgot the details. I forgot the people. And, I forgot that I need to also shoot portrait orientation. And even when I did do those things I’d delete them if I didn’t love them.
I lost the story because of it.
It was then that I learned something important: every scene you photograph, shoot the layers of it. What I mean by that is take the wide image, then narrow your focus down, then even more so, then even more until you get to the details. Every location you photograph in a destination should have a minimum 5-6 photos. It’s better if it’s 10-20.
Things to do When you Get Home
When you finally get home is when the real work starts. It’s also where the struggle, rejection, and pain starts. It’s when you get home that you decide if you like being a travel photographer enough to go through the real battles.
Sure, it’s hard in the field when you’re literally out taking pictures 12-16 hours a day. But, it’s at home where the mental battle begins.
Find the Magazines
I used to do a spreadsheet. Essentially, I’d list the 3 or 4 story ideas I had from that destination and then mark down the magazines I think might be a fit below.
If you pre-planned, you’ve probably got a couple magazines in mind already. So mark them down.
Then, head over to google and try to find a bunch of others. Mark them down as well.
How to Submit your Photos
This is really important.
Most magazines have a submissions guideline somewhere on their website. FOLLOW THEM! If you don’t follow the guidelines they’ll almost definitely reject your pitch right away. They might not even read it.
What I like to do is add a link to the submissions guidelines to the spreadsheet I created with the magazines listed. This way, in the future you don’t need to go and search for it. Part of being a good journalist is making things easier on yourself in the future. If you did the work once, there’s no point in doing it a second time.
Plan your Submission
Never underestimate the power of “the pitch”. This is where you can make your impression. So, in your email pitching the story you really need to show credibility, and you need to encourage confidence. But, you also want to be to the point. Check out this (really old) video of the art of the pitch.
Again, be sure to follow submission guidelines.
Don’t make spelling or grammar errors.
And, depending on the submission guidelines you might need to include a potential story, as well as a blurb from the article you’re planning on submitting.
What About the Photos?
Again, follow the submission guidelines. There will almost definitely be instructions on how to submit photos for your story pitch.
Generally, the photos are to be submitted via a link like dropbox or onedrive.
In general, don’t send too many photos. I usually send 8-12. But, I do mention in the email that I have xx amount more images from the trip if they need something else. Putting only 8-12 photos into the folder allows the editor to focus on the quality and how they might fit the story. And, which photos you submit should depend on the story idea. So, if you’re doing a food article. You’ll want something like 6 food photos, 2 city photos, 2 people photos, and 2 detailed shots in the batch.
My other personal rules are:
- Don’t use weird crops. They’ll crop them if they need to.
- Don’t watermark. It looks cheap.
- Just send full files. No one is going to be stupid enough to steal them.
Submit & Follow Up
And, finally submit the pitch!
But, once you’ve sent that pitch you’re not done. It’s frustrating, but you’ll rarely hear back from editors. They get pitched so often that they almost just glaze over stories. So, after a week or so passes – if you haven’t already sold the story – send a follow up email. You’ll be amazed how often editors who ignored your first email will get back to the follow up.
Just don’t send more than 1 follow up email, this will get you black listed.
Prepare for Rejection
I never expected the kind of rejection I got in the journalism industry. It was harsh. It was never ending.

But, I never took it personally. If you take rejection personally, you won’t last a minute in this industry. You need to be able to take that rejection on board and use any criticism you get to improve. If the editor tells you that the writing isn’t good enough, work on it. If they say the photos aren’t good enough, improve. It’s simple.
When I was in my early days of travel photography, I had a rule that I would pitch at least 2 stories a day. I knew that if I sold a story every 2 weeks, I could probably survive. So, I pitched, and pitched, and pitched.
The Good News
I’m sure that by reading this some of you are a bit demoralized. It’s hard. It’s not some simple system that makes you money. Travel photography, and journalism in general is a brutal industry.
The good news, though, is that the more you work at it, the easier it gets. As you build your first relationship with an editor, selling them stories becomes easier – as does the pitching process. Eventually, if you’re good at what you do, you’ll build a list of relationships with editors who you can call on whenever you have a story idea.
It’s hard, but it does get easier.
Questions?
If you have any questions about this industry and how to sell travel photography to magazines or newspapers feel free to drop a comment. I’ll get back to you when I can.
Learn More About Travel Photography Business?
If you want to learn more about the travel photography business, or just have a fun trip somewhere in the world. Join me on one of my travel photography workshops out in the world.
If you want information on upcoming trips, sign up below!