Home
About
Blog
Blog
See All
Is AI Photography Here to Stay? Ethics, Goals, and Questions.
What is Travel Photography?
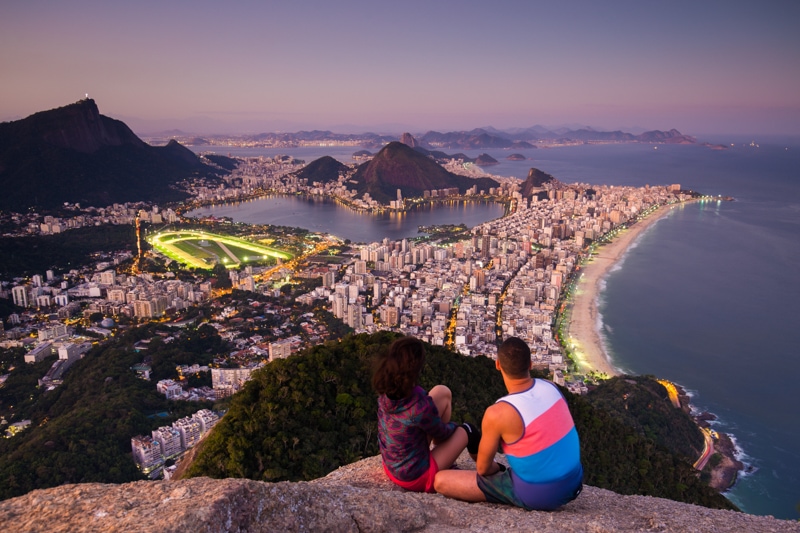
The Best Places in Brazil for Photography
Workshops / Tours
Podcast
My Camera Gear
Cart
Photo Gallery
Blog Posts
Is AI Photography Here to Stay? Ethics, Goals, and Questions.
Travel Photography Blog
What is Travel Photography?
Travel Photography Blog
The Best Places in Brazil for Photography
Travel Photography Blog
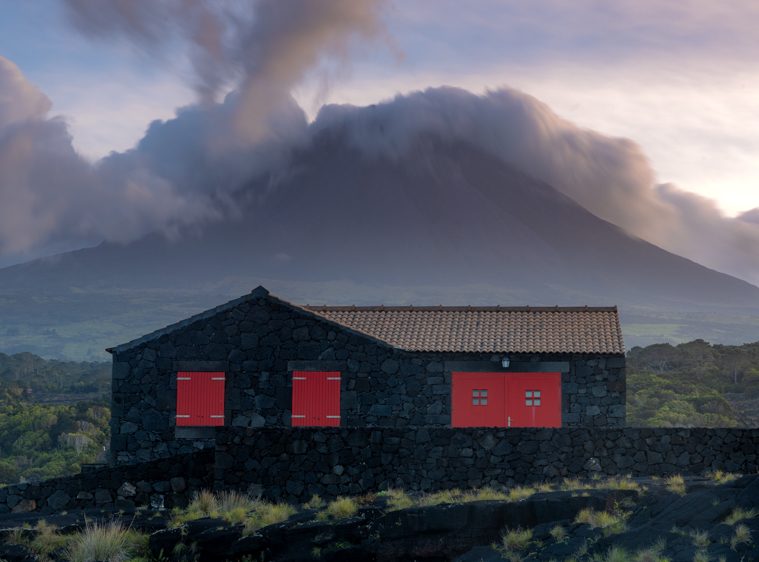
Best Photo Spots on The Azores Islands
Travel Photography Blog
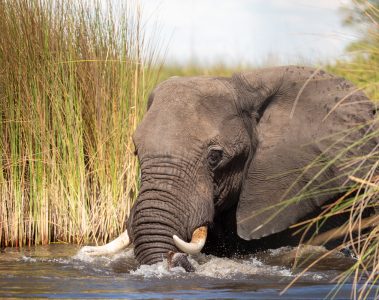
A Complete Guide to Photography in Botswana
Travel Photography Blog
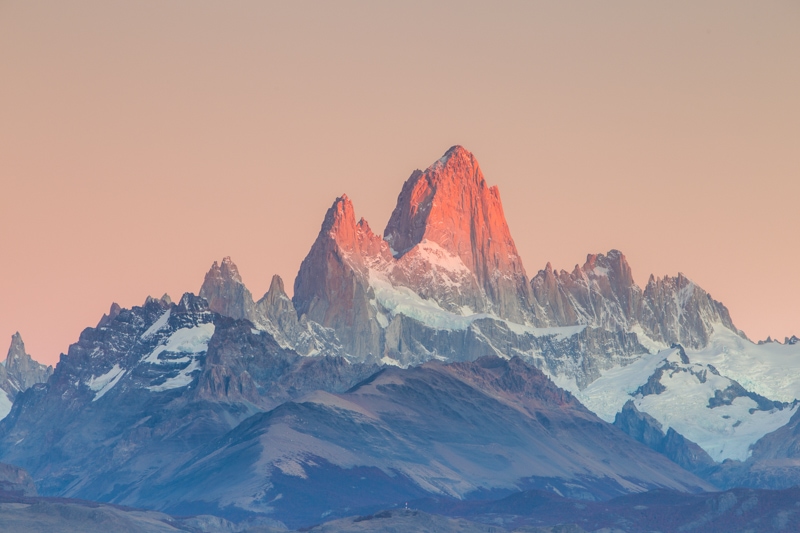
Best Places for Photography in Argentina
Travel Photography Blog
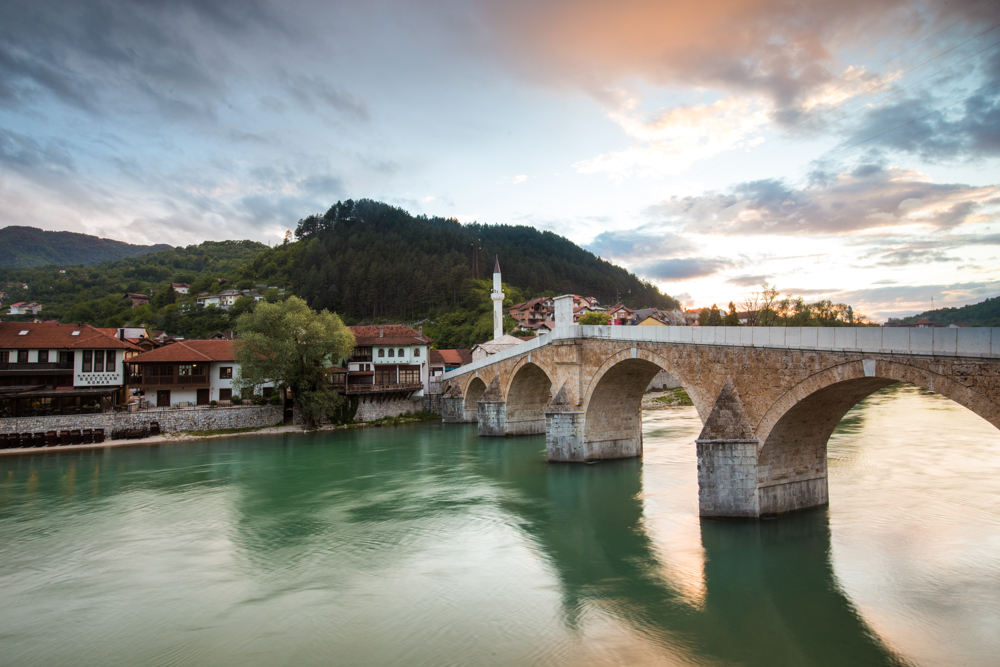
Best Places in Bosnia-Herzegovina for Photography
Travel Photography Blog
Best Photo Locations in Bolivia
Travel Photography Blog
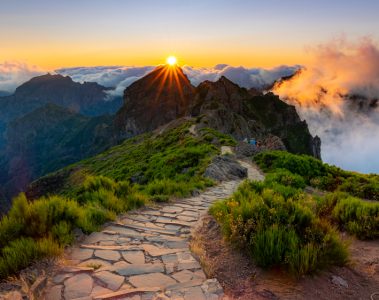
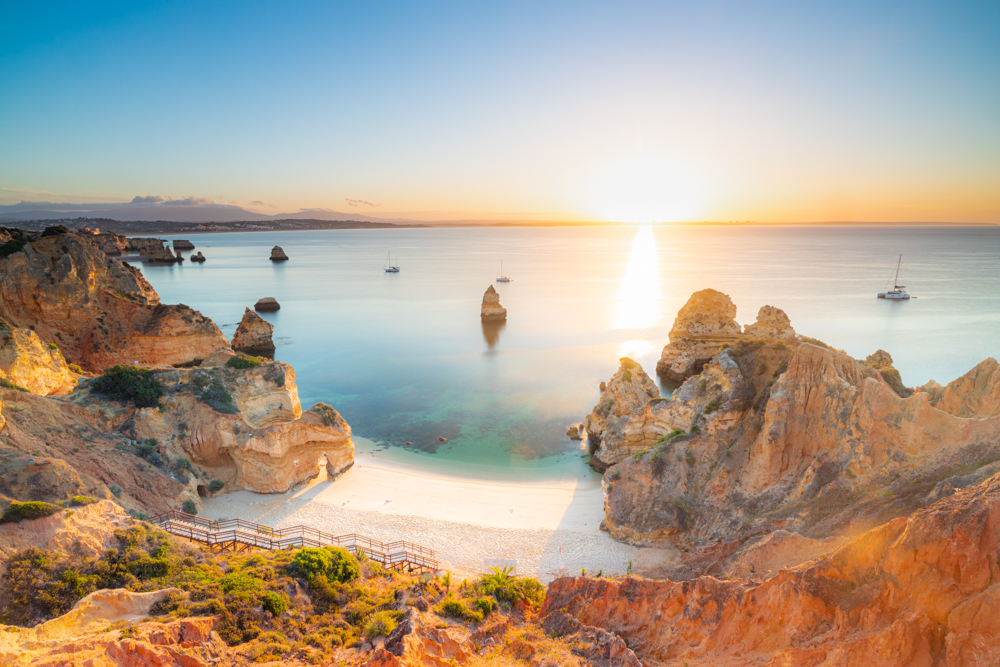
The Best Photography Locations in Portugal
Travel Photography Blog
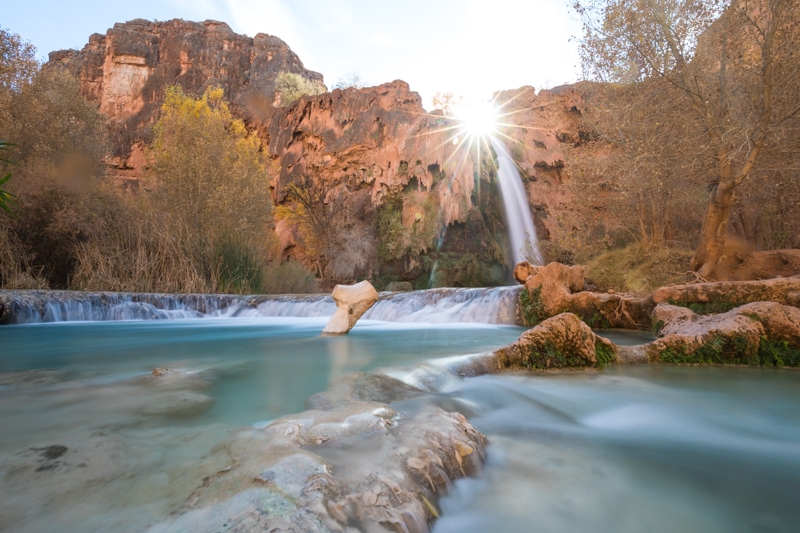
Best Photography Locations in Arizona
Photography Locations
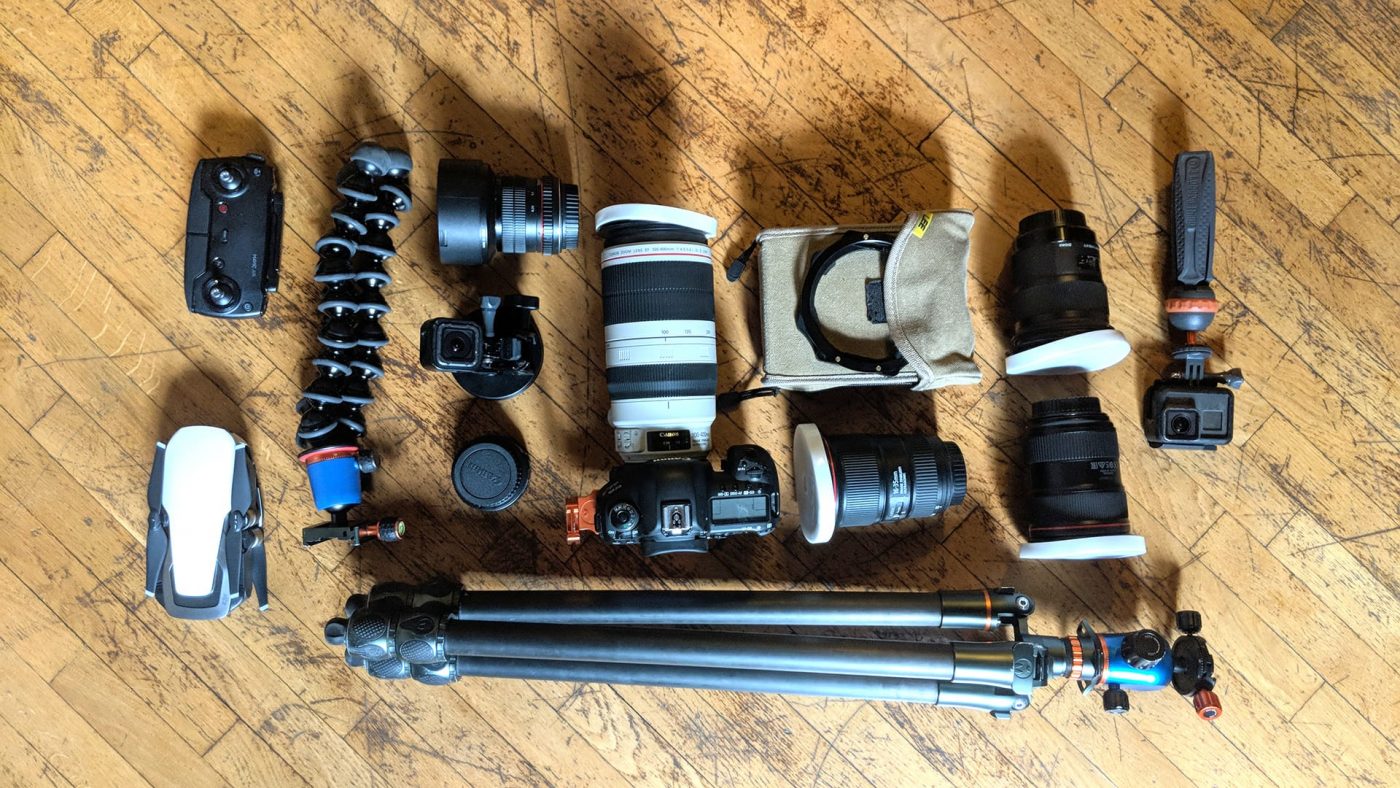
What’s In My Camera Bag?
Travel Photography Blog
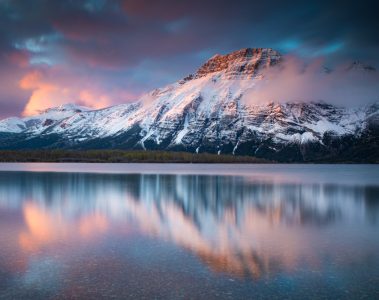
Best Photo Locations in Alberta, Canada
Photography
Travel Photography Blog
Travel Photography Workshops
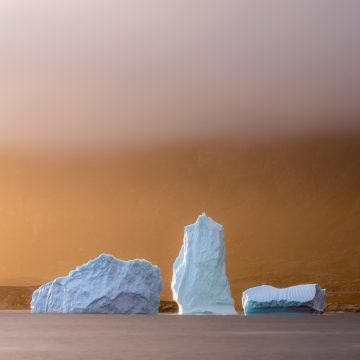
GREENLAND
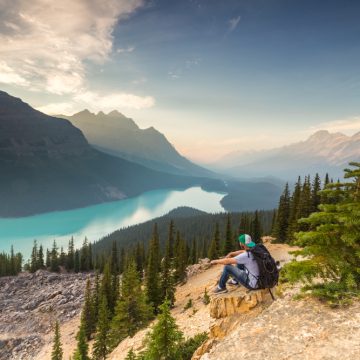
CANADA
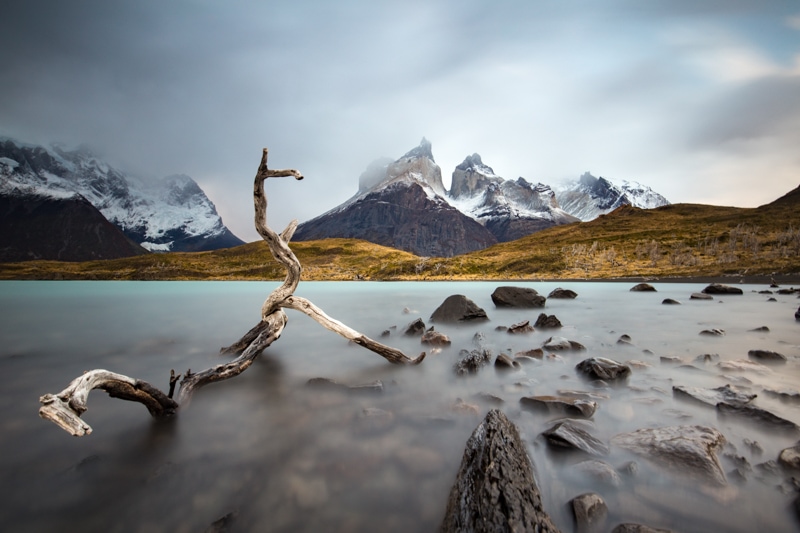
PATAGONIA
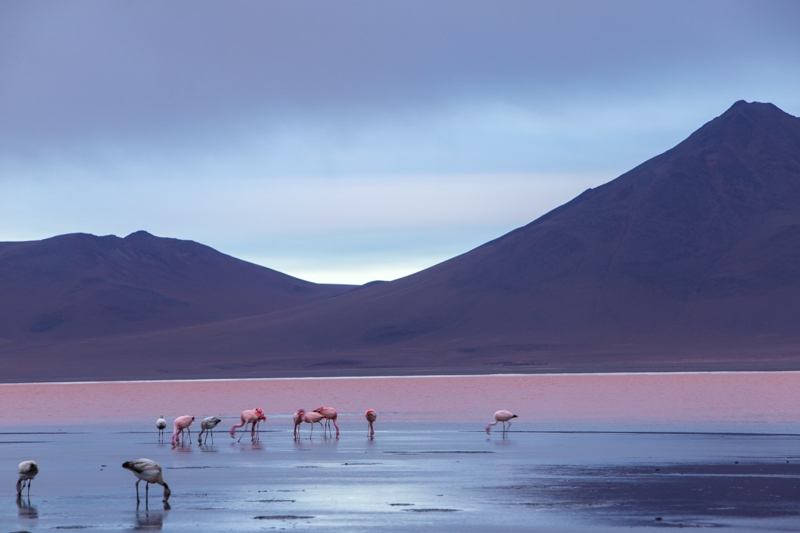
BOLIVIA
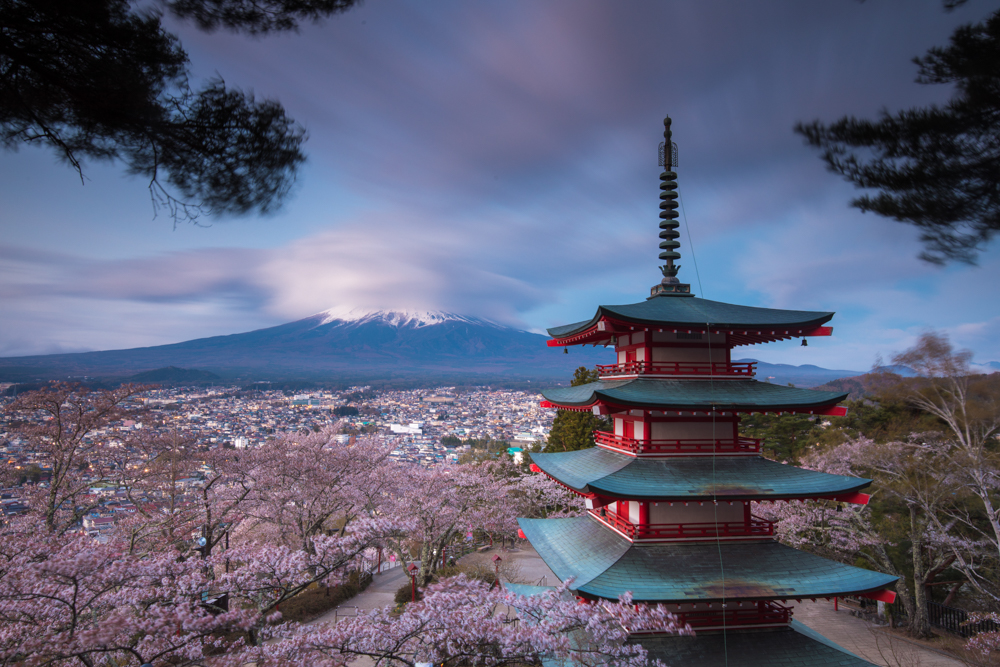
JAPAN
MORE...
YouTube: Vlogs and Tutorials
Social Media
Home
About
Blog
Workshops / Tours
Podcast
My Camera Gear
Cart
Photo Gallery
Type to search or hit ESC to close
See all results