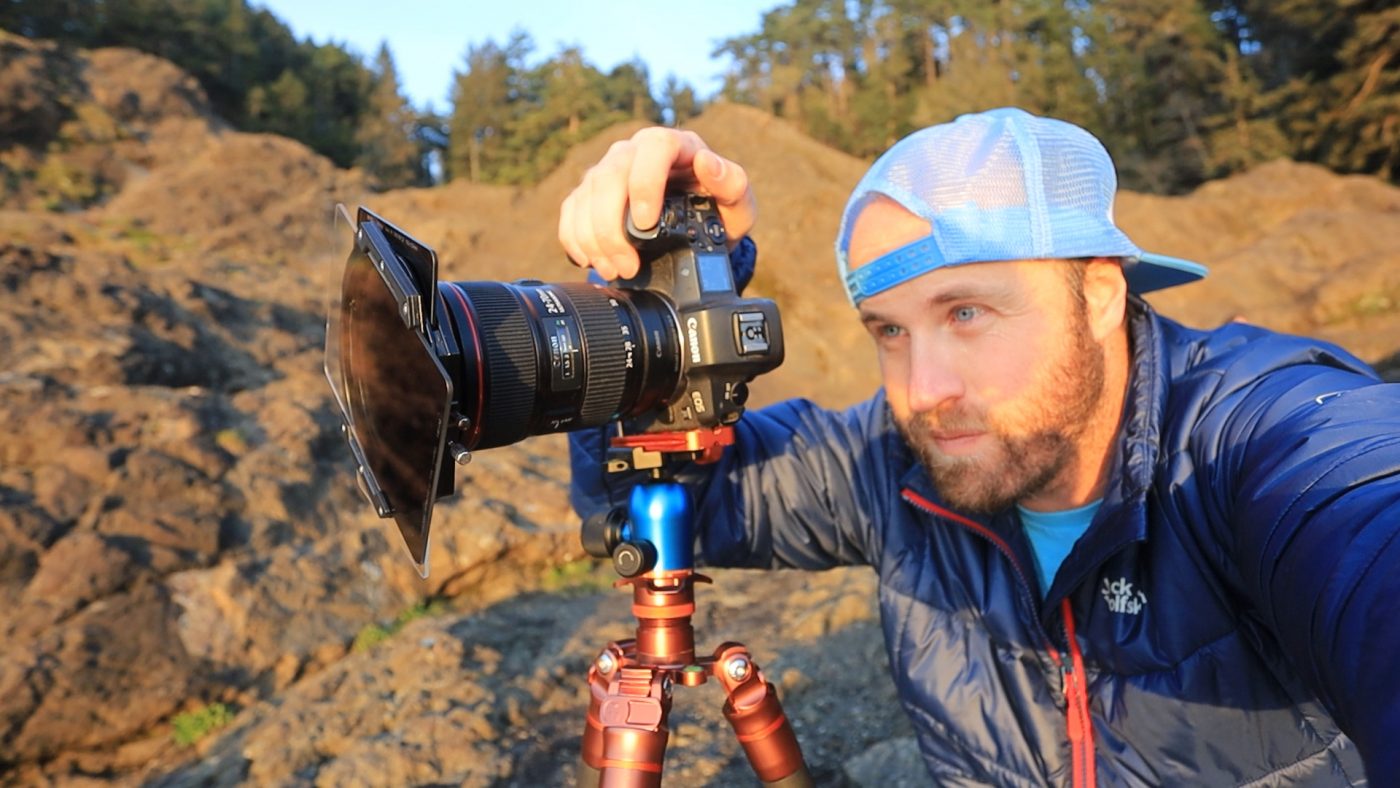
Back in October, NiSi sent me one of their most innovative products to test and potentially review: The NiSi Switch. And, yes, it has taken me about 6 months to get around to reviewing it, but better late than never, right? It’s always best, though, to give your long term thoughts on a product than a rushed one.
So these are my thoughts on this new addition to my camera kit.
What is the NiSi Switch?
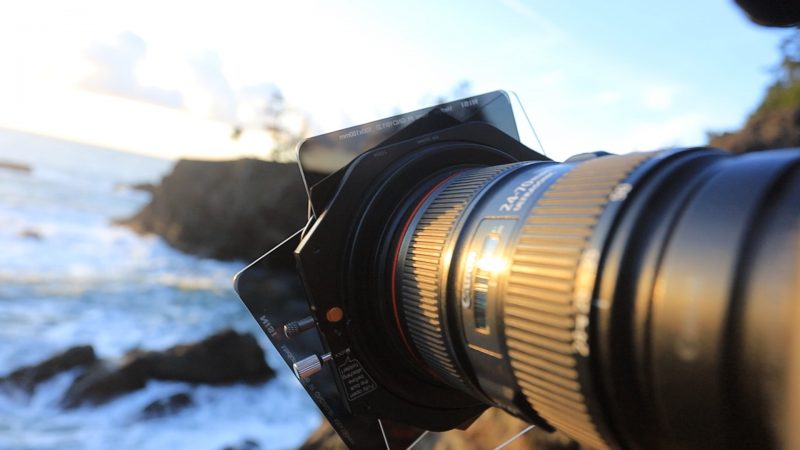
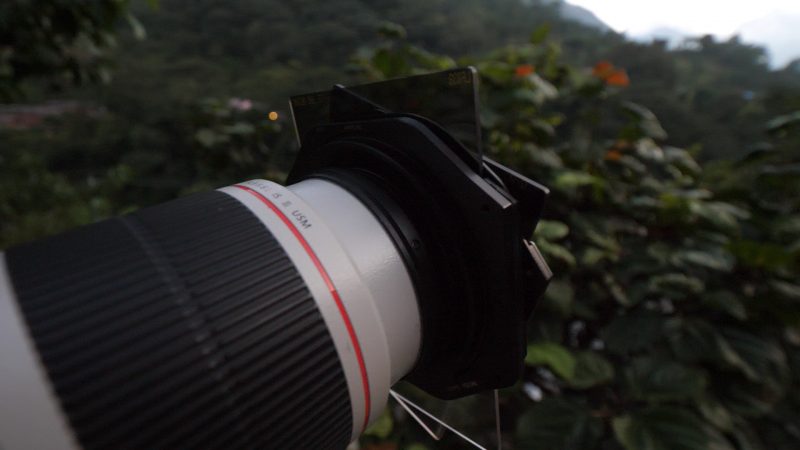
“The Switch” is an innovative filter holder system that allows the user to spin the filters around giving you different angles to different grads.
Traditional filter holders are locked in so that if you’re using grad ND filters, you can only set your gradient line in one direction. And, sure, you can obviously put that gradient in whichever direction you prefer. But, if you’re using 2 grad filters they have to be on the same plane.
With the NiSi Switch holder system, you can have one grad ND filter straight across a horizon, and another grad ND filter placed at any angle you prefer, for example.
It’s the filter system you didn’t know you needed.
Quick Thoughts on The Switch
Ideal Situations?
There are basically 3 situations I’ve found myself using the NiSi Switch.
- Mountains / Valleys: Generally, due to the pyramid shape of mountains, I find myself frustrated with my ND filters as they darken too much of the mountain itself. With The Switch, though, you can put one filter on one side of the mountain, and a second on the other side. You will get some overlap on the top of the mountain, but it’s rarely an issue.
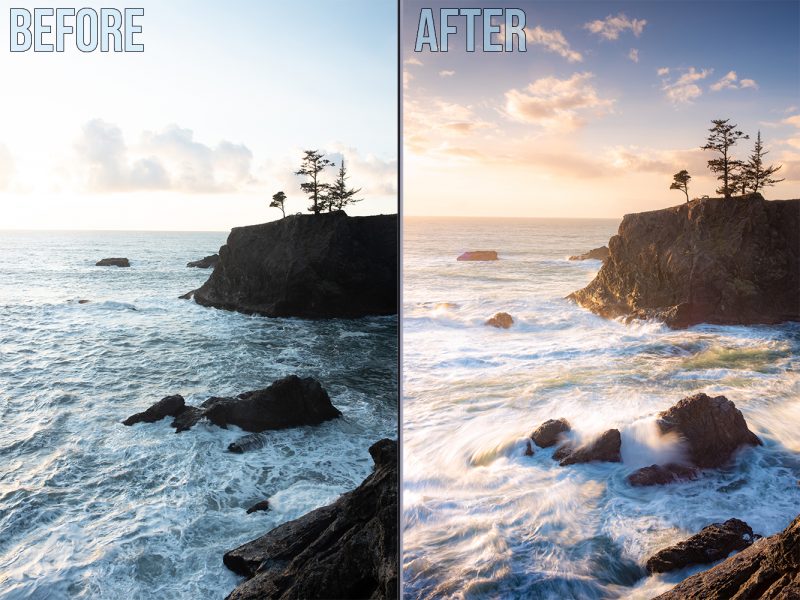
- Seascapes: There’s a very specific seascape situation I ran into in Oregon where The Switch was a life-saver. I had a photo in which there was heavy back light. The sky was extremely bright. There was also light hitting the water in the front of the scene making it incredibly bright. But, the mid-ground was in mostly shadow. So to pull any information out of the mid-ground, I used The Switch. It worked to perfection.
- Cliffs: If you’ve ever shot photos along a cliff wall, you know that it’s a bit of a challenge with a traditional filter system. You tend to either have to choose to place your filter flat on the top of the cliff, of flat on the side of the cliff. Sometimes you can get away with placing it at a 45 degree angle and getting a bit of both. With The Switch, you can put a filter on both.
Smart Usage of The Switch
- Use Lighter Grads: If you use heavy grad NDs like 3 and 4 stops, you will get heavily dark areas where the filters overlap (if they do overlap in your situation). Essentially, in the overlapping areas, you’ll have 6-7 stops of light change. I’ve found that anytime the filters overlap it’s best to stick to 2-stop grad NDs.
- You Can Use a Polarizer: The NiSi Switch works the same way as their traditional system. So, you can place your polarizer below this system.
- Alternate Between Both Systems: I tend to keep both systems in my bag. When you use The Switch, it simply snapped on the same adapter rings as the traditional system. So, it really doesn’t take up much space.
Examples
The truth is that I’ve been using The Switch much less than I thought I would. But, a lot of that has to do with the fact that I haven’t been photographing out in mountains or along cliff-heavy coastlines as much as I normally do. But, I do have 2 examples of when I did use the system and some before and afters.
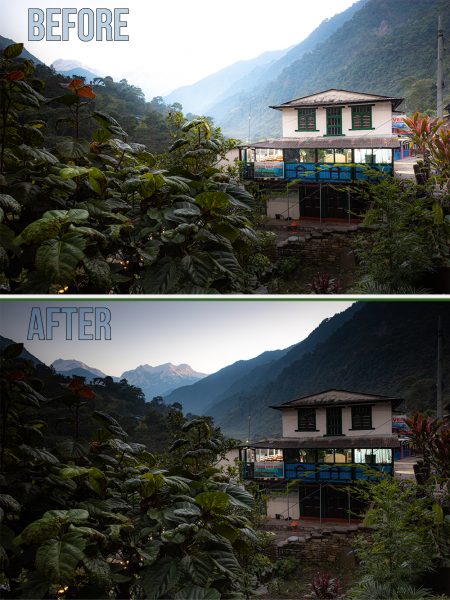
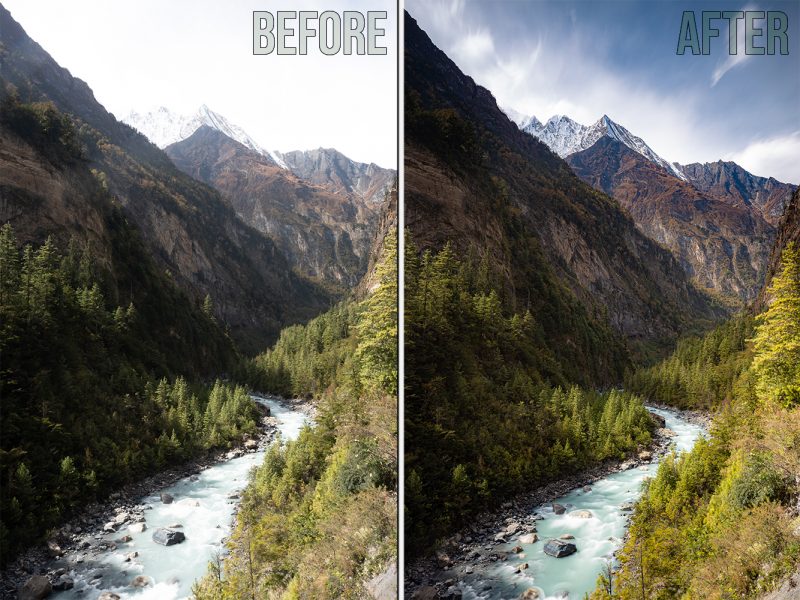
Nepal 1
This is actually the first image I ever made using this filter holder system. I used the gradient filter to bring back the mountains in the background. The scene was incredibly back lit, and this kind of saves the day. I think I could have made this photograph with a blend. But, I always prefer getting things right in camera.
Nepal 2
A couple days up the Annapurna Circuit I came across this scene which was perfect for The Switch. I might have been able to make this image by blending. But, I think the water in the foreground wouldn’t have looked as nice. And, again, I always prefer getting my photos right in camera. It just helps me visualize how it’s going to look when it’s edited.
Oregon Coast
Unlike the last two images, I couldn’t have made this photo in Lightroom. In fact, I tried over on my YouTube video – which is embedded at the top of this post. The image just doesn’t look nearly as good as the filtered photo does.
How Often Have I Used it?
I think the marking of a great product is noting how often we use something. You really truly understand its value to you when you use it for a while, and then stop. If you miss it, it’s probably a good product.
So, after Nepal, I didn’t photograph a lot of landscapes. As such, The Switch kind of ended up in the bottom of my suitcase. When I got to Iceland, and back to some landscape photography I realized I was missing it on day one. You might not be able to use this product every shoot, but it’s definitely valuable enough to keep in your camera bag at all times.
Limitations of The Switch?
There’s really only one major limitation of The Switch and that’s the fact that it can only accept two filters. If you’re wanting to go fairly filter heavy and use 2 grad filters and 1 ND filter, you can’t. I’ve found that limiting me a couple times.
I think it would be cool to see Nisi develop an add-on to the front of a 2-stop filter holder system that twists. That could potentially solve this issue.
Aside from that, I think the system is smart. It works with a polarizer, and 2 filters really smoothly. It’s light, and it’s durable; it’s a good product.
What Coming on the Blog?
I’ve announced today that there’s a new travel photography workshop! We’ll be heading to Patagonia in April 2024. Info here.
As for me? I’m in isolation and going to spend my time photographing the garden here in Kent for the foreseeable future. I’m getting stir crazy, and hoping to be able to get moving fairly soon. But, for now I’m staying safe. I hope you are too.
